Back Again! I am this week's host for WAYWO (What Are You Working On) a community diary for crafters, hobbyist, Jacks and Jills of all trades, Artists and anyone who just wants to share whats happening!
You may volunteer to guest host by signing up at this yahoo group ( http://groups.yahoo.com/....), which is checked from time to time. Also by joining this group, you will receive one email a week when the diary is posted. If you wish to write a WAYWO and would like directions go here: (http://www.dailykos.com/....)Today I will update you on my latest project, a Civil War Era Day Dress. I am making it for a dinner I am attending in Springfield, IL for the Illinois Reading Council...a teacher Conference. Making a dress was not necessary...but attempting to look a little "Era-y" was suggested with button blouses and long, black skirts. President and Mrs. Lincoln will be in attendance, so it should be fun.
I am a retire teacher, and thought,since I have the time, why not make a dress? It can't be too difficult, after all, women used to make their own clothing all the time..... I just need to keep that in mind, plus, it is just a costume!
I have not hemmed my dress or finished the button holes but I decided to make my own under thingies. The best part...no patterns needed! Just measurements!
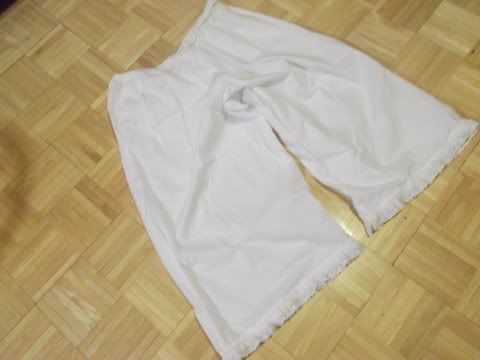
The first thing I wanted was a pair of bloomers! I have to have bloomers!!!! They are just so cool! White baggy bloomers! Everyone needs a pair! Bloomers!
So, no pattern. I had spent enough on my costume already and had purchased extra white muslim for the under things. Women used to make their own underwear and I am sure they didn't go out and buy special patterns...it was just something everyone knew how to do..so it can't be too difficult, can it? Just, I didn't know where to begin. So I went to google. And, there is a lot about bloomers, even a video on how to make your own bloomers in about an hour! (http://www.youtube.com/...) Fantastic! And it worked. I made my bloomers quickly...well, a little more than an hour, more like 2 or 2 1/2. I'm slow. Plus, I'm old, and fat (well fatter than the girl in the video) so I had to do multiple measurings to make sure I had it right. And Voila! My bloomers!
OK, so they are not really what was worn in those days. The Bloomers of the era did not have an elastic waist and they did have a large, "necessary" opening in the crotch in case you needed to relieve yourself and didn't want to remove all that clothing....and there was the possibility of a quickie...but I'm too old to think about THAT happening!
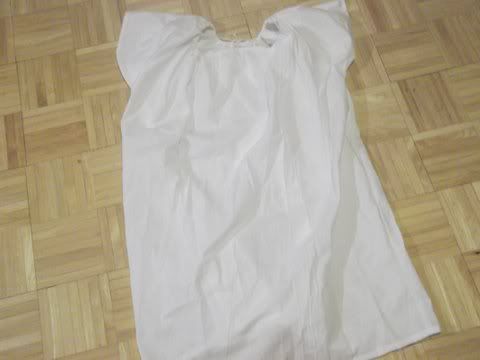
After bloomers, there is a chemise...and there are free directions on line for that too! Besides...it is relatively easy..much like a nightgown but used as underwear.....or doubles as underwear.
The underwear done...I elected to NOT make my own corset at this time...but if I did, it would go over the bloomers and chemise. There are free directions for making this as well. Not being a young belle, I don't need to worry about pulling in all my fluffy bits
The hoop skirt? I don't think I will do that one just yet either...I need to sit down and eat in this costume.
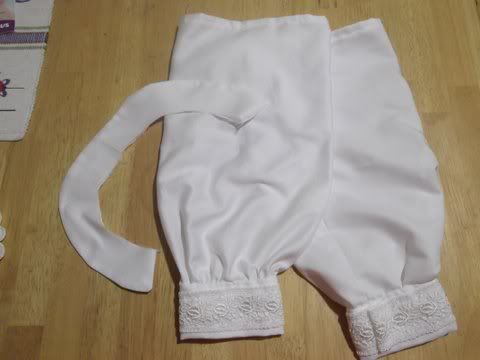
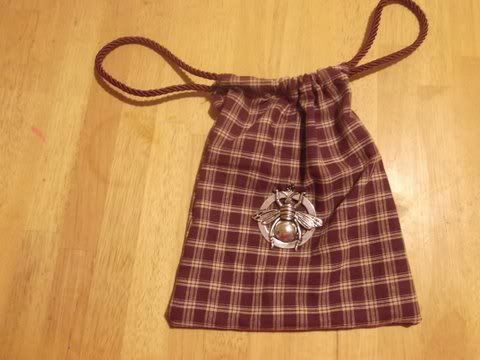
What else do I need? The false sleeves, a white collar that gets basted to the dress, a crocheted collar, and a drawstring handbag!
The false sleeves and collar are pretty quick and easy. I attached a small bit of purchased lace around the cuffs...which is probably all that will be visible. They get basted to the sleeve lining...easy to remove if they need washing.
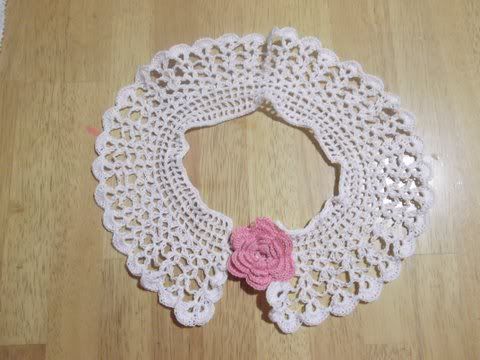
I decided to crochet a collar for around my neck...I read somewhere that women liked to "personalize" their dresses with handmade lace...so I thought it would be nice. I dug out a lace collar that I had made 30-35 years ago.....but I am a little older now and my neck is more flabby....so a new collar:
Fortunately...this went pretty quickly...it is not as difficult as a doily and all one needs to do is measure one's neck to crochet the correct size.
The drawstring purse from leftover cloth....just 2 rectangles sewn together with a lining and then decorated.
I'm thinking of adding a crocheted edging around the bottom and maybe a couple of crocheted flowers...we'll see...I don't want to over do it.
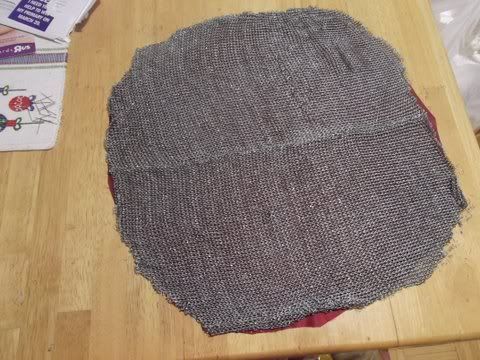
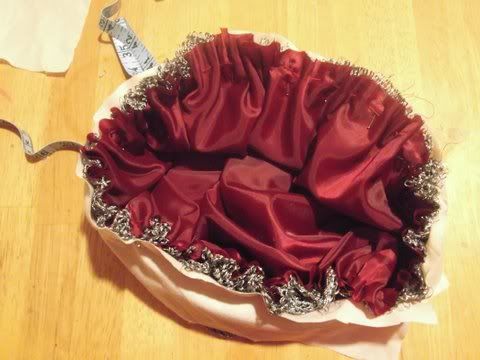
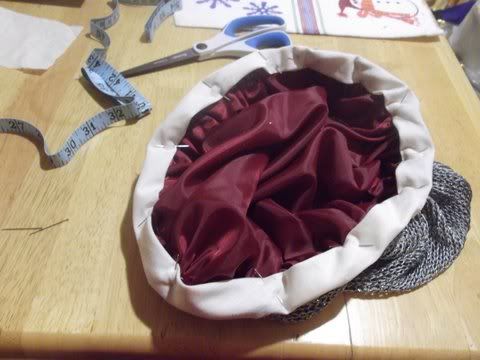
Now I need a snood. I have no hair...well, I have short hair. Easy to take care of, wirey and greying....but not the fashion of the 1860s. So a snood will cover up my short hair and look more fashionable. Snood directions are also online....but how hard would it be to crochet a snood? I decided, I wanted a simple, easy snood with a lining to cover my lack of long hair. The directions recommend buying netting...Of course, one has to find it. So, at a T.J. Maxx, there were silver knitted vests on sale for $7...a little shopworn...but all I needed was an 18 inch square! So I cut the square, folded the knitting and the lining...trimmed to a circle, measured my head around the crown and nape....gathered the circle up to that 24 inches and sewed on a biased edging from some extra muslin. No need to add the beads for decoration!
The 18 inch square trimmed to a circle.
Gathering the circles with a basting stitch.
Adding a muslin trim cut on the bias.
My accessories are done!
Well, I have some extra muslin...now what would a Civil War era Grandma do with that extra muslin that is too small for anything?
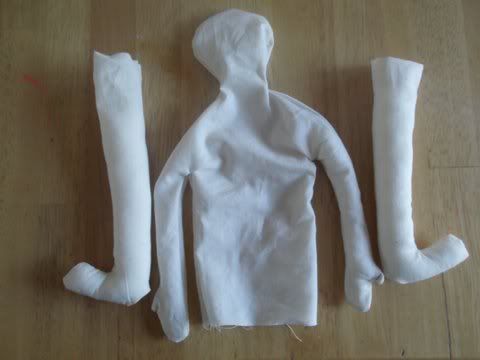
Make a rag doll! What a wonderful way to teach the grandchild how to sew a button or learn to stitch!
Now, it is your turn!
What are you working on?
